Tips and Tricks for Exploring Lightboard
Are you thinking about using Lightboard in your new course? Does the glass board with glowing writing leave you intrigued?
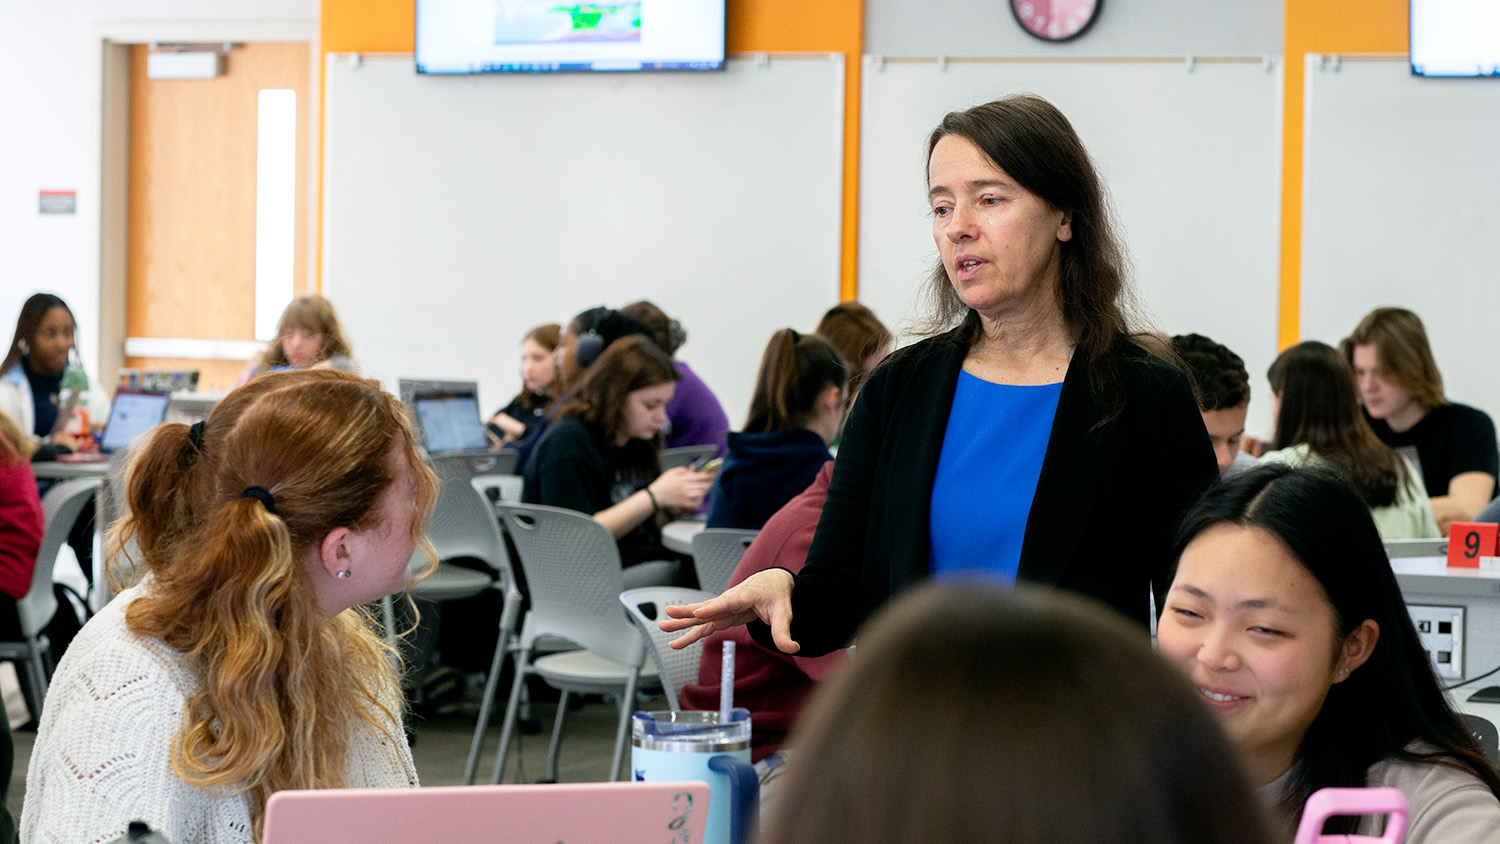
DELTA’s Instructional Media Production team recently completed its first project using Lightboard in a DELTA Critical Path Course Redesign Grant for Civil Engineering Materials of Construction. The goal of the project was to create 10-15 minute videos from a 75-minute in-class lecture and allow the professor to write and solve problems directly on the screen.
Production Support Technician Todd Buker noted the process “looks much easier than it is.” While it was not extremely difficult, it is not as straightforward as one might assume. Space, design and logistics of the process are important aspects to think about.
Managing Space for Slides and Room
- The amount of space for writing on the Lightboard decreases once you add in text and a person’s body. Being aware of the “real estate” available for writing and planning accordingly is important.
- Consider marking out the visible area of the glass prior to recording your videos. This will not only give you an idea of where you should be writing but also marks the space that you can use for adding your own notes or reminders without them being visible to the camera.
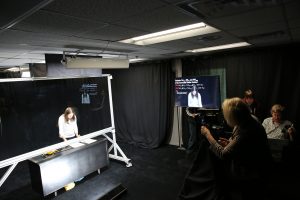
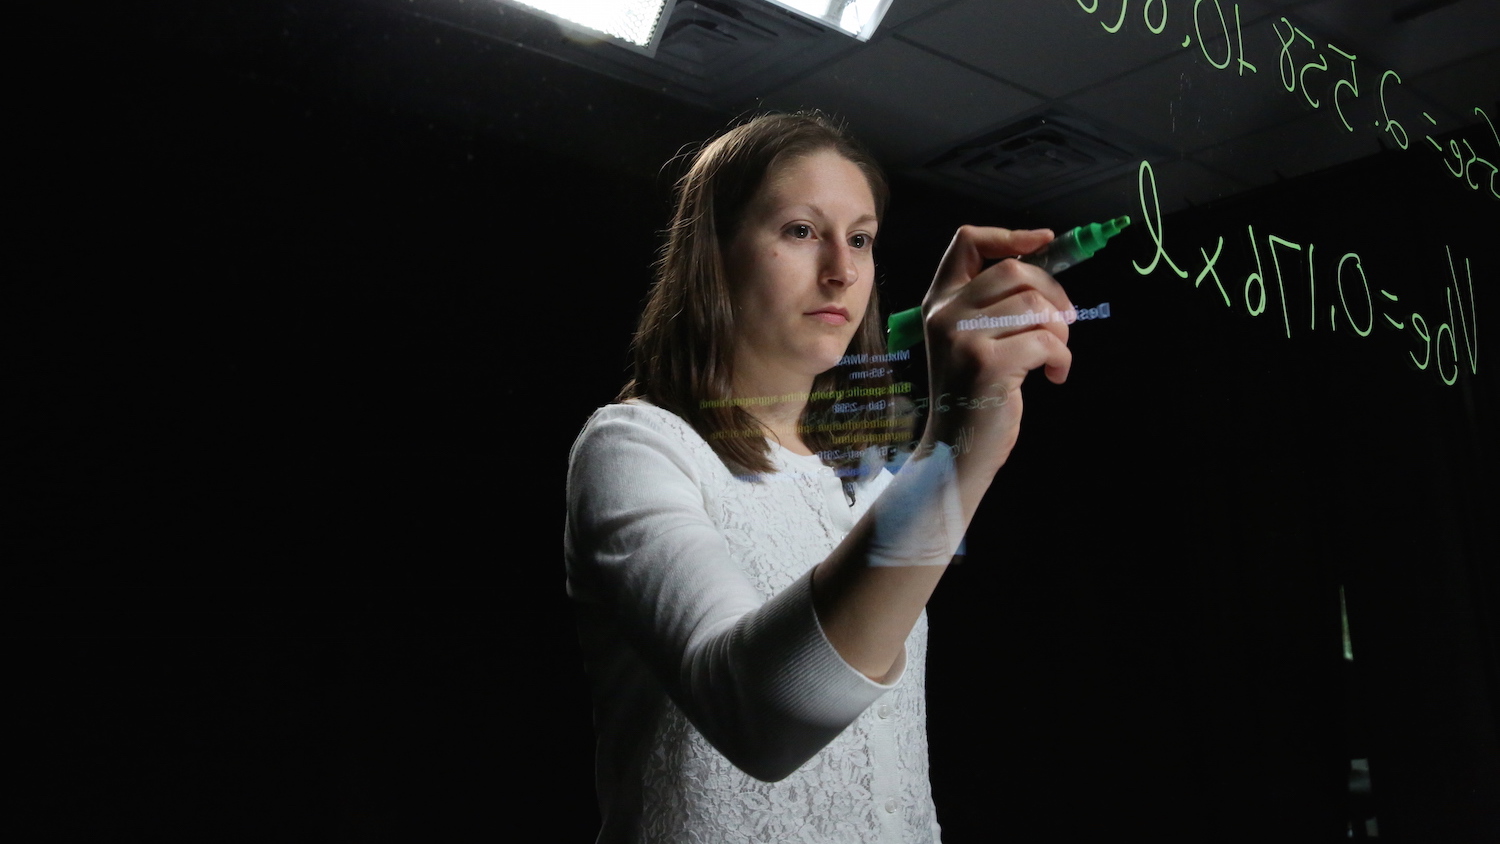
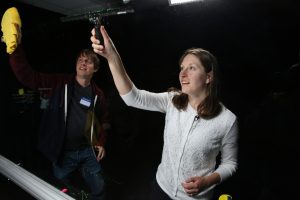
The production room for shooting a video with Lightboard - The size of the room is vital. To have an effective Lightboard recording, the room must be darkened and deep with enough space between the board and the camera. It also must have room for professional lights, a video switcher and a minimum of three people.
- Presenters have to be aware of how to write away from their face on the board. Right-handed presenters are at a disadvantage because in order to write without covering themselves, they have to reach across their body. Left-handed presenters can write normally.
Design/Teaching Best Practices
- The design of the lecture is important because Lightboard should be used when writing is needed. The slides used with Lightboard have to be designed with the space of the board in mind in order to leave enough space for the professor to write.
- Lightboard works best when a professor or presenter is able to talk through the glass and still be efficient. A few practice sessions may be necessary to become comfortable with Lightboard. Practicing your lesson ahead of time is also very important so you know what you will write and say, and it will allow you to get more recordings completed in each studio session.
- VCS found that writing out the numbers and formulas just out
Behind the scenes of a Lightboard video shoot of the frame helps presenters remember their information, but they have to be careful about looking at it for too long or it appears they are staring off screen.
- Alternatively, consider having numbers and formulas written on a whiteboard or screen near the camera so the presenter can look at the information and it will appear like they are looking at the camera.
- For content such as formulas and graphs, consider pre-writing on the Lightboard before recording. This allows the presenter to focus their time on the important parts of the lesson and keep engagement high without spending time writing formulas on the board.
Logistics
- Using Lightboard can be a time-consuming process because of the various elements involved such as room requirements, multiple people and equipment. Below are a few resources to help move the project flow.
- An experienced technician to operate the switcher
- A technician to operate the camera (which is capable of flipping the board)
- Professional lights to make the board and presenter stand out
- A microphone that provides high-quality sound. The DELTA VCS team invested in a lavalier microphone that works well with Lightboard.
- Buker found you have to stop recording every time the board needs to be cleaned. The board must be cleaned with a solution and a cloth and/or squeegee, and it can be difficult to see smudges. It often takes one person to clean the board and another person looking for smudges. The rhythm of teaching may be altered because of having to clean the board.
CE 332 instructor cleans the board with a squeegee and Todd Buker cleans with a microfiber towel - Using the right size dry-erase markers is important. The first time VCS used Lightboard, the markers were too thin and did not show up well on the board for filming. Thick-tip markers solved the problem.
- Avoid wearing clothing with lettering or designs that would look abnormal when flipped, and avoid wearing clothing that is close to the color of the backdrop being used.
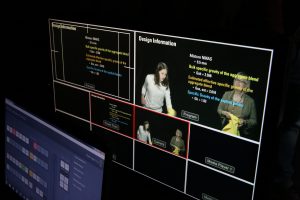
As for things Buker didn’t expect with Lightboard, he noted “sometimes the slide text appears on ‘top’ of the presenter and sometimes ‘behind’ depending on the keying control.” To combat this issue he kept the instructor away from the slide text.
“The finished product looks clean and sleek, and it is a nice professional way to present problem solving,” said Buker. In VCS’ experiences so far, Lightboard works well for courses and productions involving problem sets.
If you are interested in learning more about Lightboard contact John Gordon at DELTA. STEMbrite also offers high-end Lightboard production resources and is located on Centennial Campus.
Note:
Information about Lightboard collected from Todd Buker, John Gordon and Ben Huckaby.
- Categories: