What’s New in Moodle 3.2?
Recently, DELTA performed the annual upgrade of Moodle, to Moodle 3.2, for courses starting Summer of 2017 and beyond. While most of the functionality is the same, there have been a number of changes to the interface that were designed to reduce clutter and improve the user experience. A description of the changes appears below and there is a video of a workshop you can view to see the changes in action.
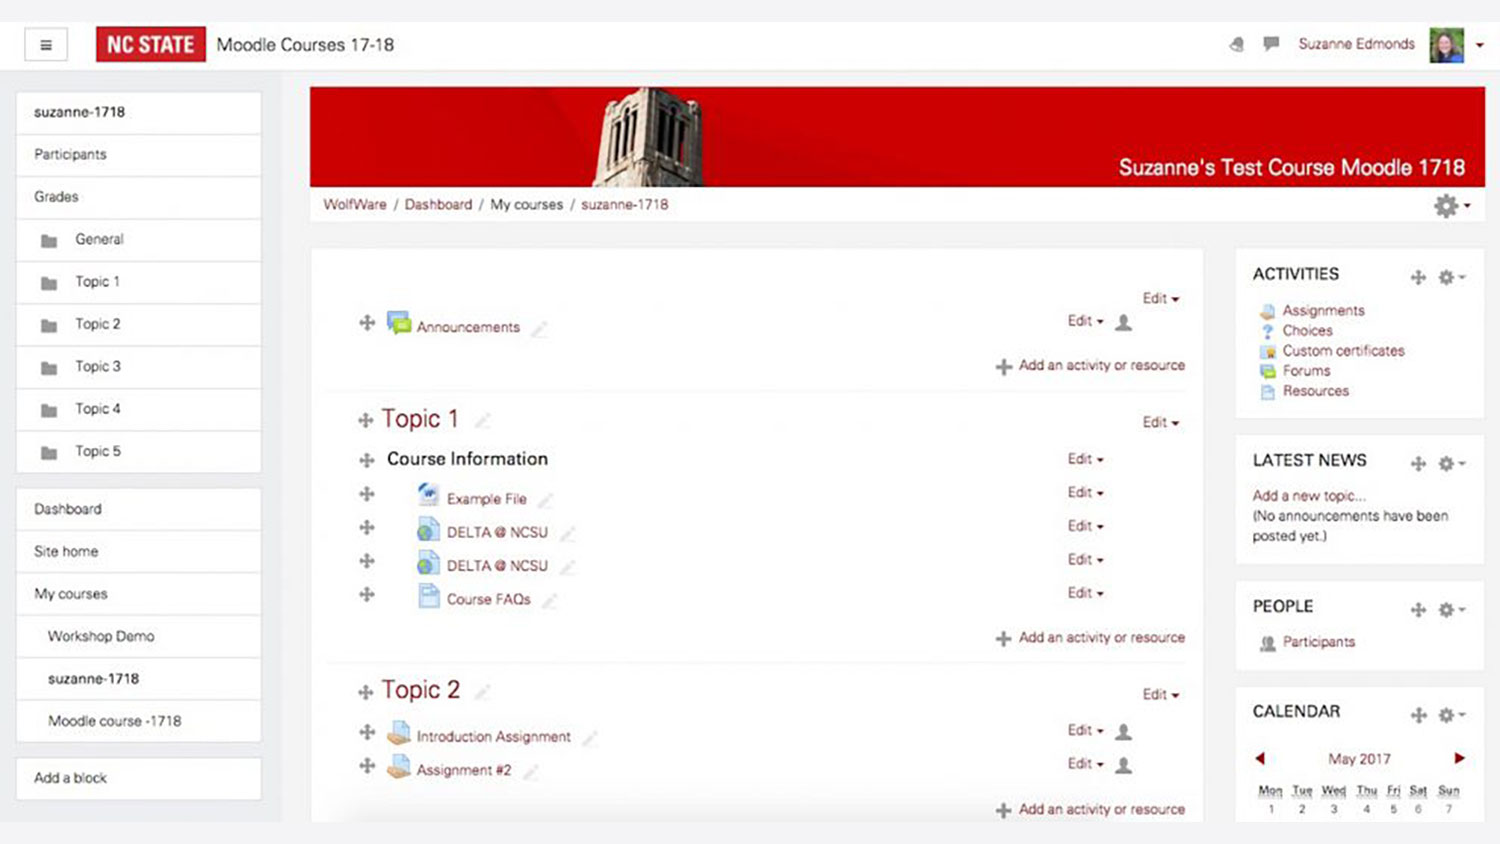
Landing Page
Display changes
There is an new updated core theme, Boost, that gives Moodle a fresh, new look. One of the noticeable changes is that navigation on the left is now a menu, not a block. Settings in the top navigation allow you to navigate to your course content, and the bottom navigation lists all of the courses you can access. This navigation menu can be opened and closed to free up space by selecting the collapsable menu icon.
In addition to the Navigation menu, when looking for various options you’re used to, they may now be listed under the settings drop-down menu, which looks like a gear icon, in the upper right-hand side of the Moodle page. “Turn Editing on” is located under this gear icon, along with more options. Many of the settings under the gear icon were previously located in the Administration block.
There is also a new User menu, located in the upper right-hand corner of Moodle, next to the user picture. The user profile, grades, preferences and the option to “switch roles” are all located in this menu.
Messaging and Notifications
If you use Messages in your Moodle course, you can now easily access your messages from the menus at the top of the page. This improved feature aims to provide users with easier and faster communication. When there are unread messages and notifications, the number of unread items will appear next to the icon in red, alerting you to check your messages or notifications. An instructor can use the Messages feature to send a message to an individual or to course participants.
Notifications alert teachers, students and other users about events in Moodle such as new forum posts and/or assignments that need grading. You can customize what notifications you want to receive, or disable all notifications; you can also choose how you want to be notified (via Moodle or email) by clicking on the gear icon under the Notifications menu.
Easier Section Editing
A course section is where the learning materials are displayed. If you need to change the name of a specific section topic, you can now easily do that by clicking on the pencil icon. However, this will only change the title of the topic or section; if you need to edit more settings for a specific section, you still have the option to Edit Settings within each section.
Edit Settings
When you open a resource or an activity to view the contents (not edit), there is a gear in the upper right-hand corner that gives you the ability to edit the settings without having to scroll to the Administration block and find the Edit Settings button.
Resources
Recycle Bin
With the Recycle Bin feature, instructors can delete course items, but then have the option to restore the item if they later decide they need it. When editing items, and “deleting” them, they actually go to a recycle bin and can be accessed within a few moments of deleting. This recycle bin is located in the settings drop-down menu (gear icon) on your course home page.
A few things to keep in mind when utilizing the recycle bin:
- For NC State, the time limit to restore items is 30 days.
- Items that are restored will be put back in the same category, but not necessarily the same location.
- If there is student data available in the activity or resource, that data is kept if it is restored.
New Media Player
There is a new media player that allows for the uploading of captions and subtitles. First, you must click on the “Add media” icon in the resource/activity in which you are editing. Next, you can insert a video or audio file using the file picker. You’ll then be able to customize the display size, and check out some advanced settings — including the option to mute the video or loop it to play repeatedly. In addition, you’ll also have the option to include subtitles and captions. If you want to use captions, you’ll need to upload a .vtt file; a .vtt file is simply a file that syncs video and text. If you want to upload captions, the video you are captioning must be an uploaded video — uploading a captions file doesn’t work when you input a link to a YouTube video. But, if you are going to use a YouTube video, oftentimes, there are Closed Captions included — to access those captions, simply click the CC button on the lower right-hand corner of the YouTube video itself.
Activities
Forums
Within Discussion Forums, you now have the option to pin and unpin specific discussion topics to the top of the Forum thread. This could be useful if students have asked a particularly important question, or if there is something you need for students to know before starting that discussion thread. After the discussion post has been created, simply click the ‘Pin’ or ‘Unpin’ button to utilize this feature. As a note: ONLY an instructor can pin a topic; students do not have this ability.
Another new feature in Forums, is the ability to lock a discussion after a certain period of inactivity. The instructor will set this limit when he/she creates or updates the Discussion Forum.
Choice
With the Choice activity, you now have the option to open and close the availability dates, with the added bonus that they function independently from each other — previously you couldn’t set one without the other — that option is now available.
Also, within Choice, instructors can move students into different groups if necessary. Instructors simply click a checkbox next to the participant’s name, and then move based on the choice below the poll. This would be a good way to group students — based on answers to Choice questions — for topics or projects, which side of the coin they are on, etc.
Assignments
There are some improvements to grading assignments, Now, you can easily grade students’ assignment submissions. With this upgrade, you simply click on the assignment, and then you will see the “Grade” button on the assignment page to grade students’ assignment submissions. Previously, instructors had to click the “View all submissions” button in order to view and grade the assignment. Essentially, there are fewer steps to go through in order to provide grades.
Also, there is now an Annotation feature when grading certain assignments. If students submit a PDF or online text as their assignment to be graded, this submission will be displayed on a grading screen, which allows you to annotate it, using a variety of tools, stamps, etc. You also have an option to notify students when annotations/grading has been completed.
In addition, an instructor can now provide an Assignment override — basically, change a deadline for an individual or group — from the Assignment settings. This will be helpful when students can not see the assignment yet, as it’s hidden from their view, but need to complete the assignment early (or late) with instructor permission. The instructor can override the specified due date for an individual or group by using the override function, thus allowing them to see the assignment when others cannot.
Lastly, when using a rubric, the newest version of Moodle allows the use of negative scores. This is especially helpful if an instructor takes off points for late submissions, etc.
Want to get more hands on experience with Moodle and other tools? Take part in Summer Shorts this August!